


Hanukkah has arrived! It’s finally time to spin the dreidel, light the candles on the menorah, and put on that one pair of Hanukkah socks you’ve been waiting to pull out of your closet since last year.
To kick off this Hanukkah season, here is an authentic, traditional Israeli donut recipe for sufganiyah that my father always fries up when the holidays roll around the corner. It was passed on to him from a friend’s Israeli neighbor who has had the recipe in her family for as far back as she can trace her family tree.
Although today a typical sufganiyot donut is round and filled with jelly, the version is flatter and jelly-less. This is an ancient form of the classic Israeli treat, but you can alter this recipe for sufganiyot into a more modern one by filling a cooked donut with some jam through a pastry bag.
Take this recipe home over winter break and try it out for yourself. It’s incredibly simple, and you don’t have to celebrate Hanukkah to enjoy a sweet, soft, delectable sufganiyot. Happy baking, everyone!
Ingredients
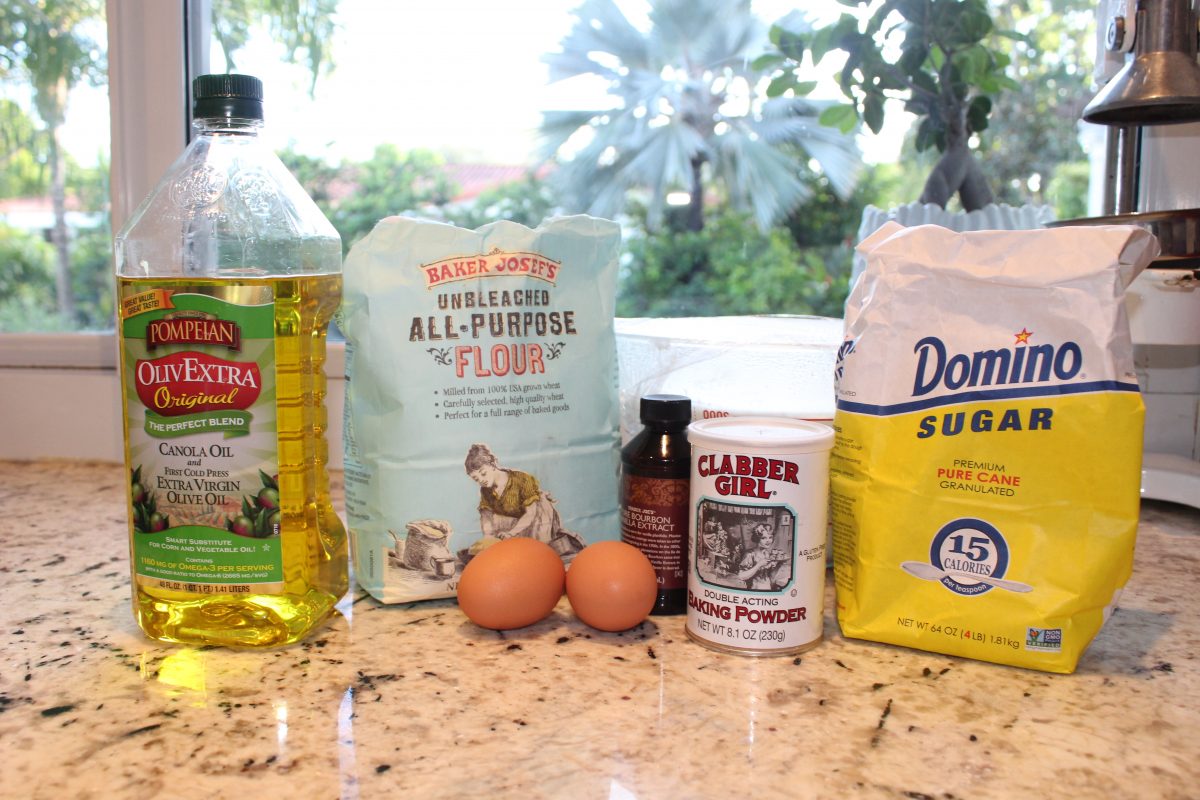
- 2 and one-half cups of all-purpose flour
- 3 teaspoons baking powder
- 1 pinch of kosher salt
- 3 tablespoons of granulated sugar
- 3 and three-fourths cups of plain yogurt
- 2 large brown eggs
- 1 teaspoon vanilla extract
- Three-fourths cup of frying oil (canola, grapeseed, or light olive oil are suitable)
- One-half cup powdered sugar
Making the batter
1. Mix together the flour, baking powder, salt, and sugar in a large bowl.
2. Whisk together the yogurt, eggs, and vanilla extract in a medium-sized bowl.
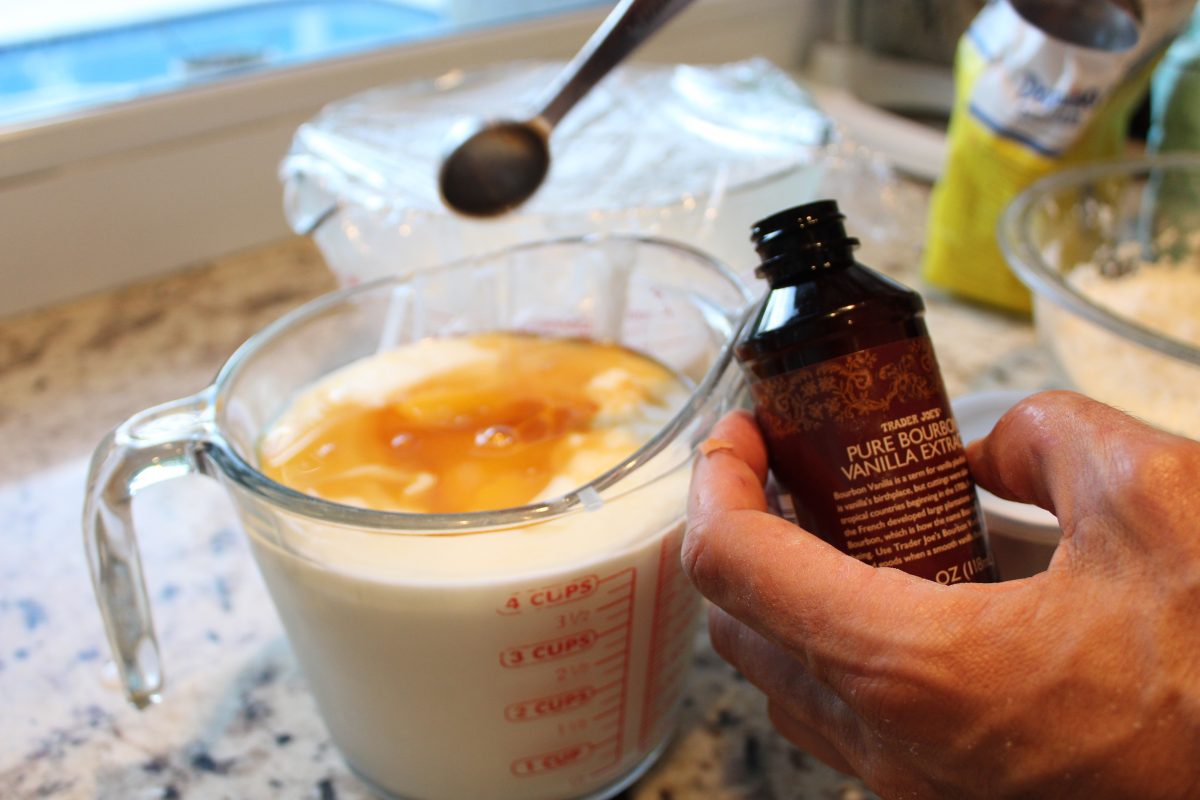
3. Pour the wet ingredients into the dry and gently whisk until you have fully incorporated the two mixtures into each other.
Frying the doughnuts
1. Prepare a platter for the doughnuts by placing a paper towel over a large serving plate.
2. Pour the oil into a frying pan and warm it at medium-high heat. You know the oil is hot enough to start frying when you sprinkle some drops of water over the pan and the oil sizzles and pops.
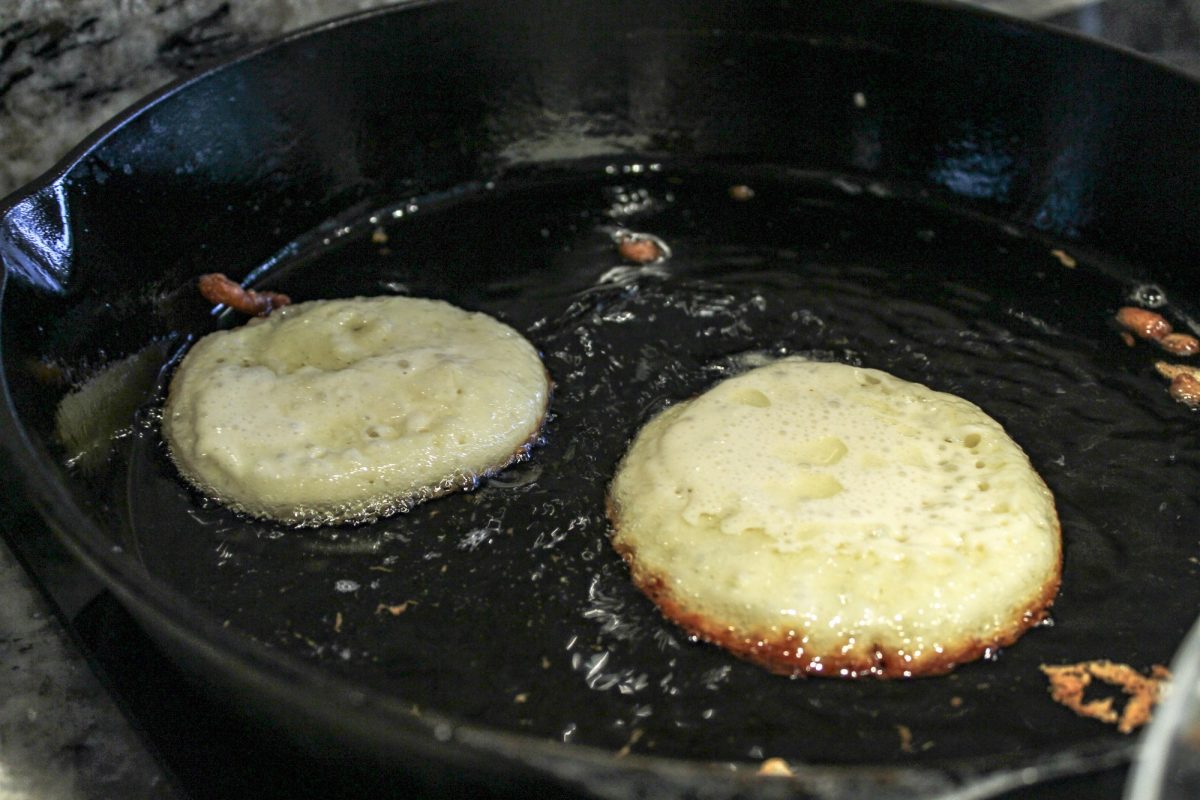
3. Pour a small ladle’s worth of batter from the bowl into the oil into a pancake-like shape. You should be able to fit at least three or four of these comfortably in the pan. Do this carefully to avoid being splashed on by the hot oil!
4. Flick oil from the pan onto the doughnuts with the slotted spoon while they are cooking.
5. When a doughnut’s edges begin to brown and curl a bit, and the doughnut itself has risen slightly and formed small bubbles on the surface (takes just under three minutes), you are ready to flip it over. Using a slotted metal spoon and an offset spatula as an aid, flip the doughnut onto its other side. Again, watch the splash!
6. After about another three minutes, take the doughnut out from the pan using the slotted spoon and offset spatula. Mildly shake the doughnut back and forth in the spoon to remove some of the excess oil.
7. Place the fried doughnut onto the paper towel over the platter to absorb more of the grease. Keep the platter somewhere warm.
8. Once you have used up the rest of the batter, finish preparing the doughnuts with powdered sugar, sifted through a strainer. Serve warm and enjoy!