


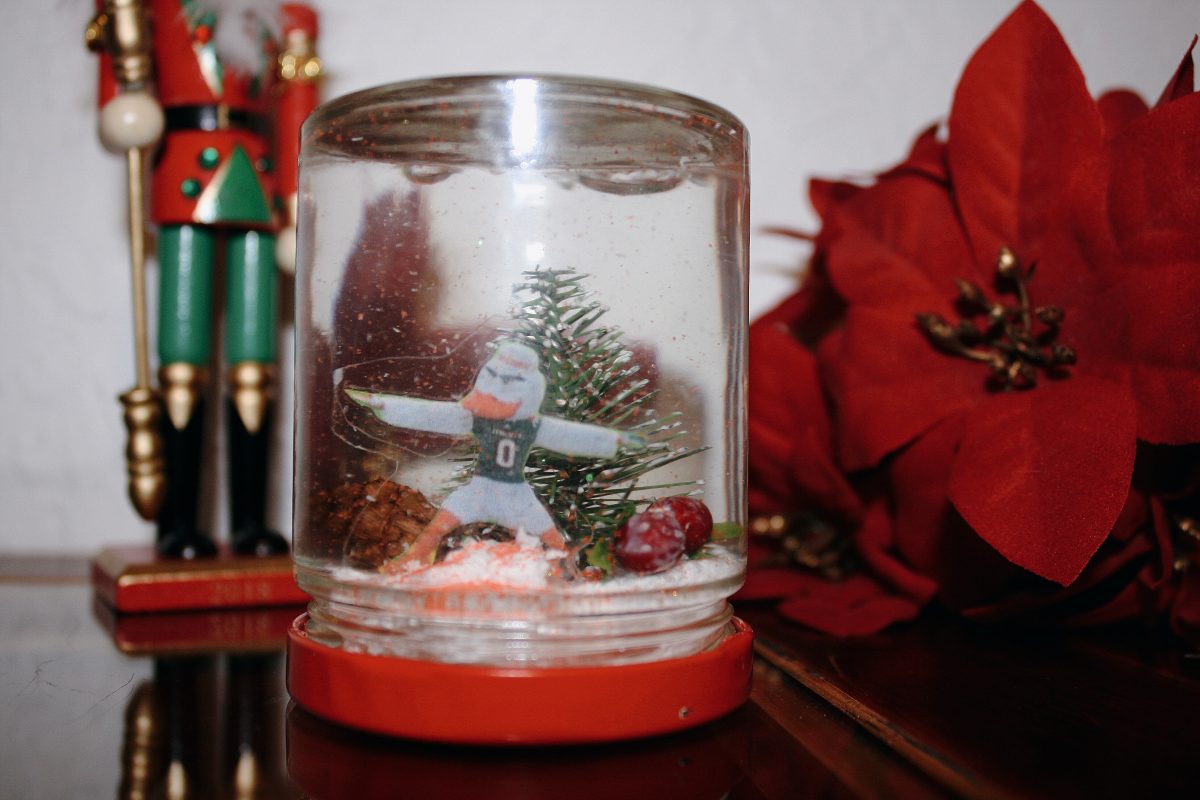
The end of every semester leaves us all feeling weary and uninspired. We find ourselves reminiscing about more stress-free times, from formals to homecoming week to football games. Capturing these memories in a whimsical little bubble, protected from the chaos of finals, is not too far-fetched with a snow globe just at the end of your keyboard.
Do it yourself snow globes serve both as a foolproof study break or holiday gift for a friend. Creating one of these perfect worlds yourself is inexpensive, 100 percent customizable and makes your memories all the more valuable.
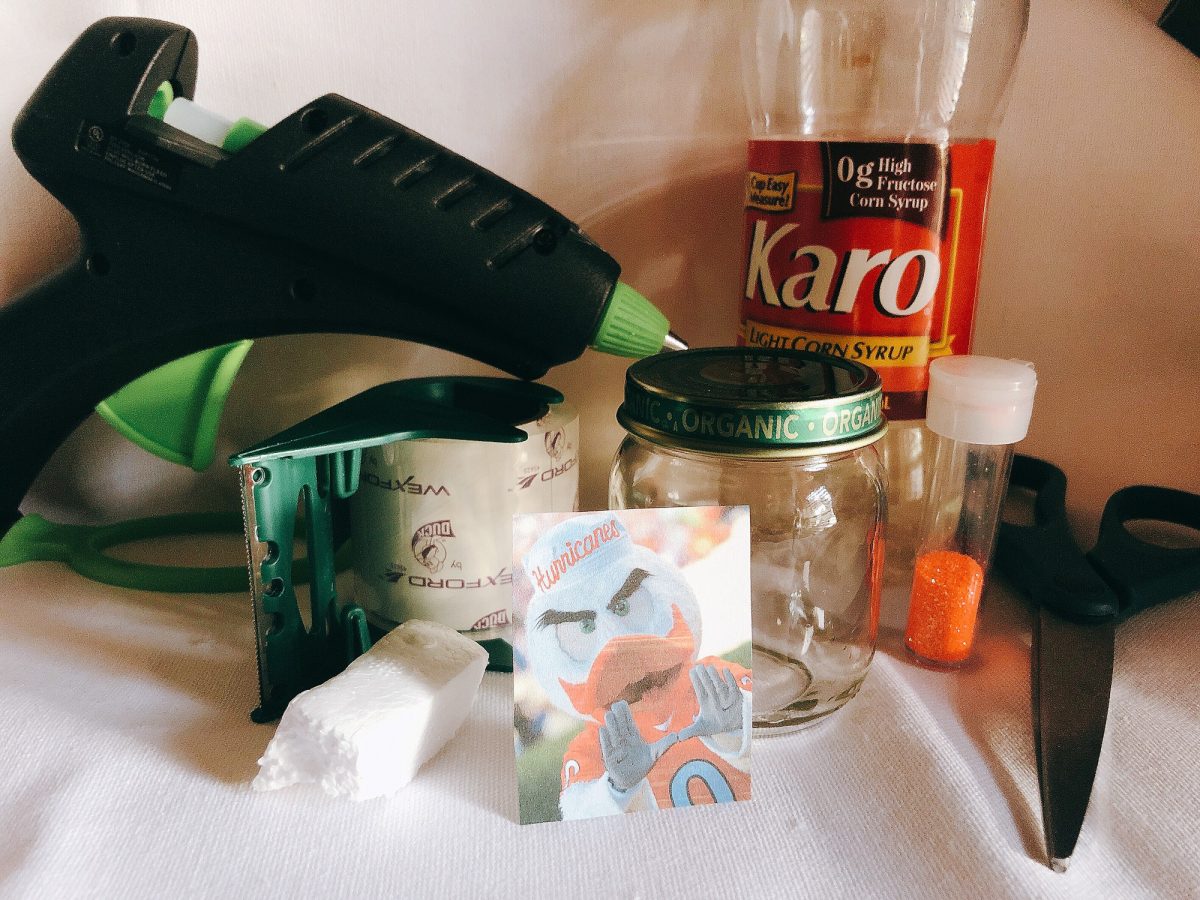
All you’ll need is a clean jar, a photo of your choice, clear packaging tape, a small piece of styrofoam, glitter, a hot glue gun and spare glue sticks, water, and light corn syrup. You can also add small winter-themed figurines for more of a holiday touch.
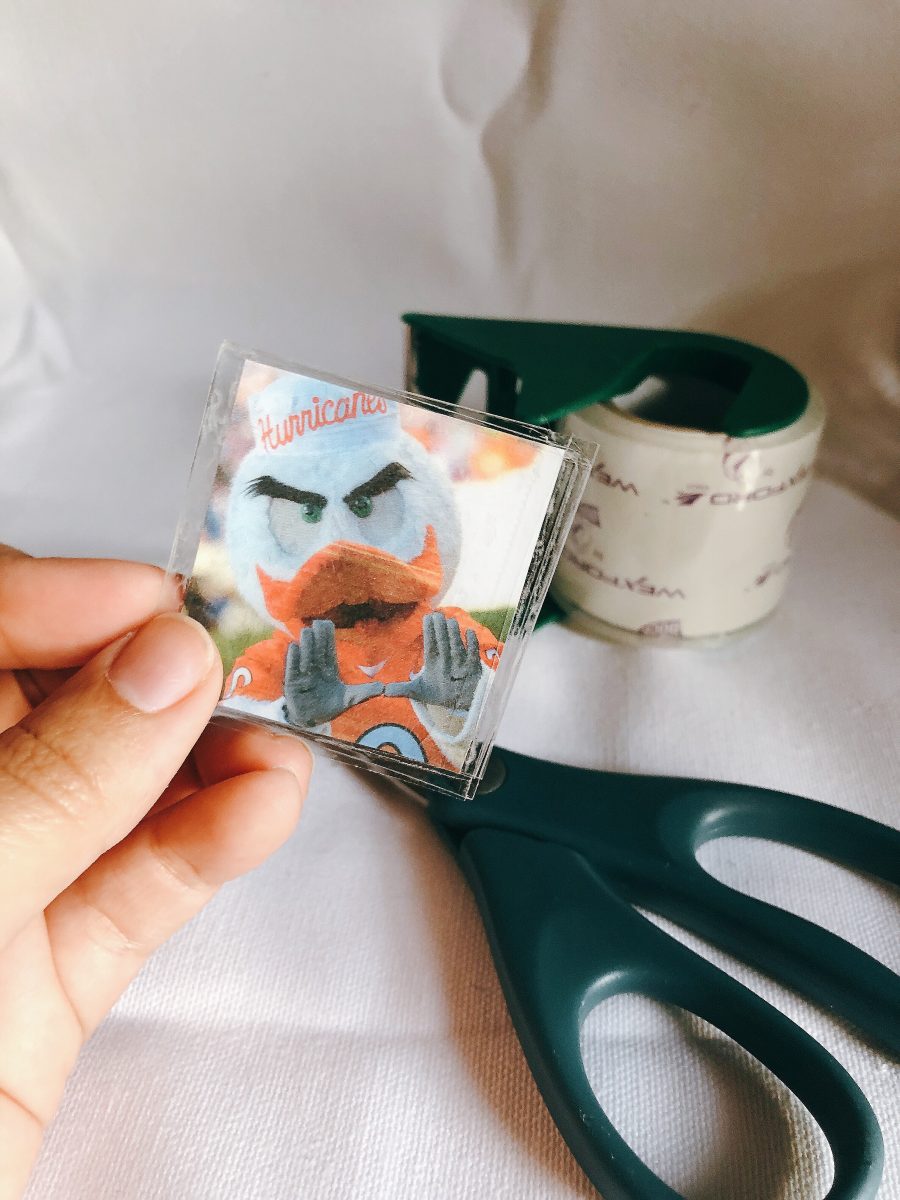
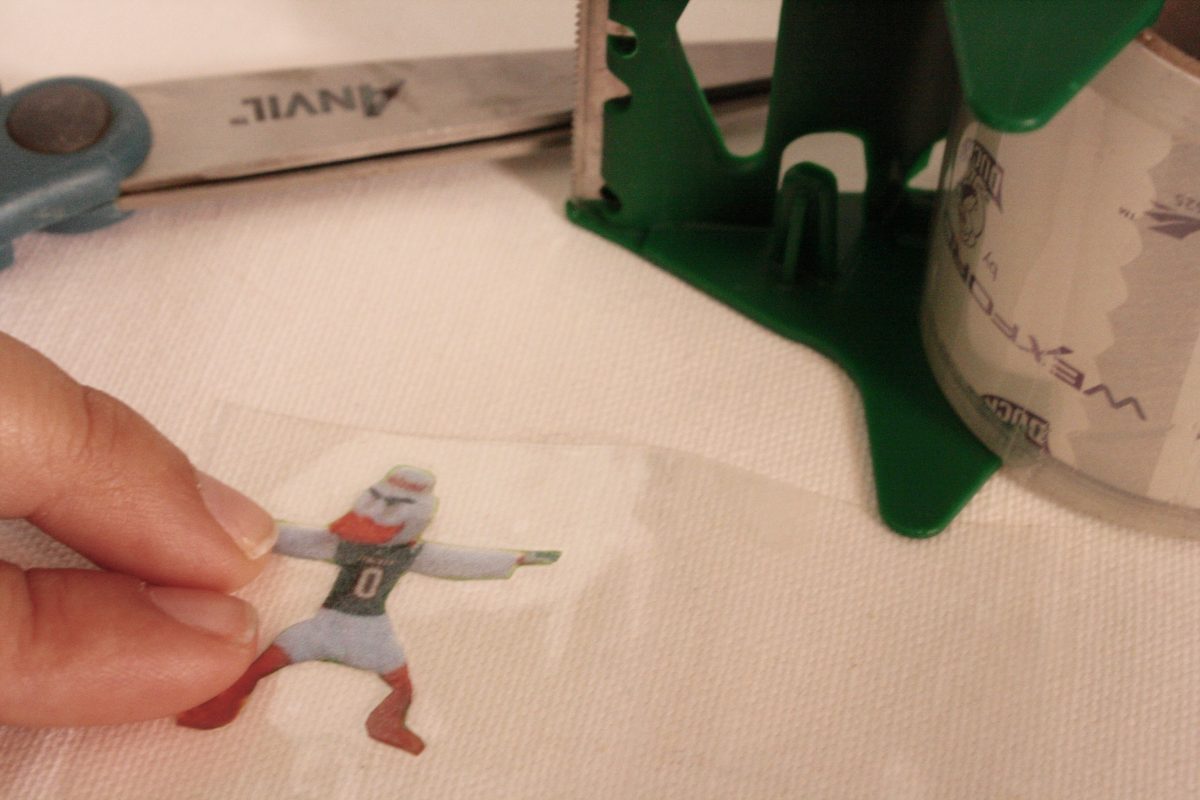
Begin with prepping your photo. To do this, cut around the edges of the photo so that it will fit the width of your clear packaging tape. Stick the image to the tape, fold the tape over the back, and smooth out any air bubbles so that it is well-sealed and won’t be damaged by the water. You can also opt to get the photo laminated to be extra careful.
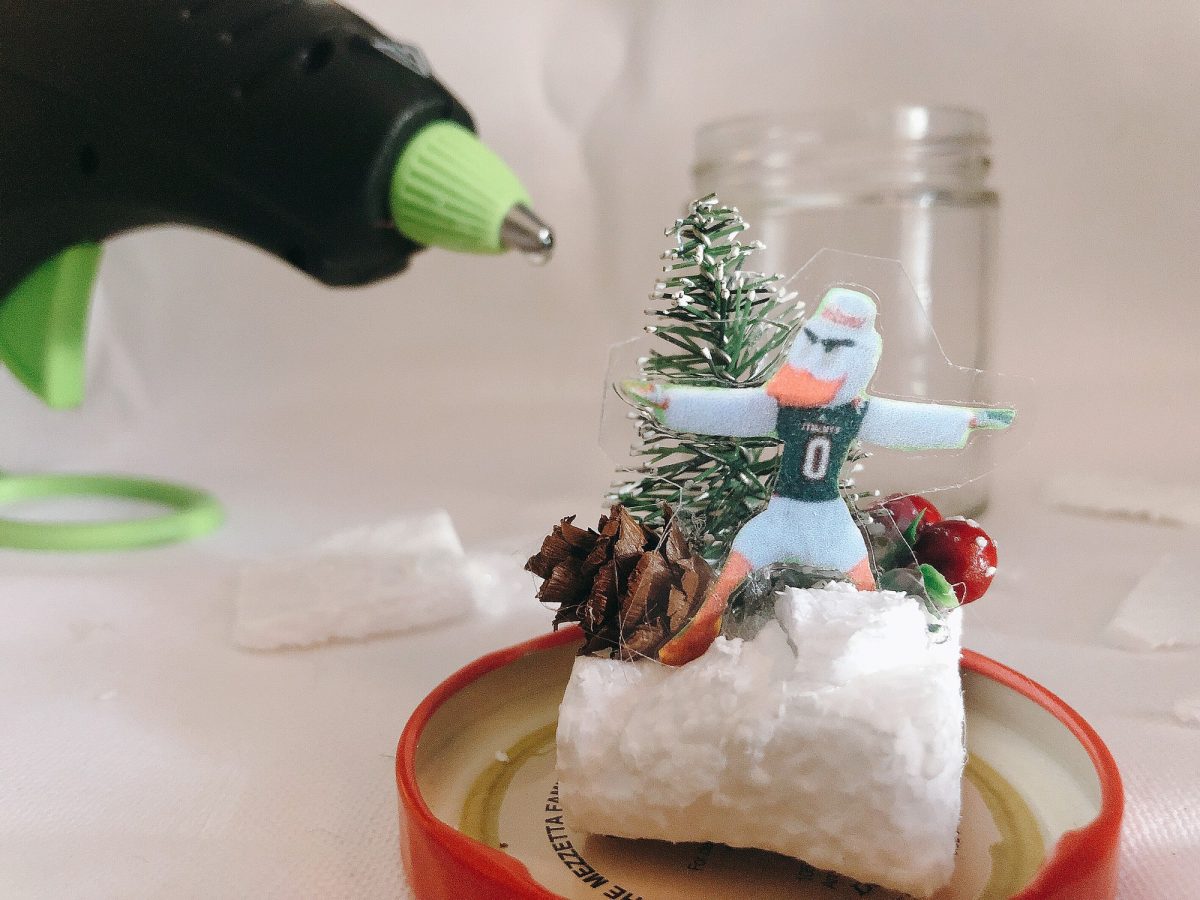
Next, trim the piece of Styrofoam to fit the underside of the jar lid. The Styrofoam will help to elevate your photo and figurines just past the screw-like rim so you can see everything perfectly on the side of the jar.
Create a slit on the Styrofoam to fit your photo in and keep it in place with a dab of hot glue. Glue your figurines, if any, to the Styrofoam as well, then glue the Styrofoam to the underside of the jar lid.
Some people use glycerin in their DIY snow globe water mixtures to help the glitter fall more gradually. Since glycerin may be hard to find in some stores, light corn syrup works just as well. Fill the jar with water, mix in a teaspoon of light corn syrup and add a glitter of your choice. Fine glitter performs best. Start with a small amount, then add more as desired.
All that’s left now is to screw your lid tightly into place. If you think your lid may not fit snuggly enough, use hot glue to seal it shut. It just may be a bit difficult to open it again once it cools. Decorating the outside with twine or string also adds a nice touch, but is totally optional.
Shake up your magical world, then watch the “snow” fall peacefully. That favorite, fleeting memory from the semester now might just stand the test of time (and finals).